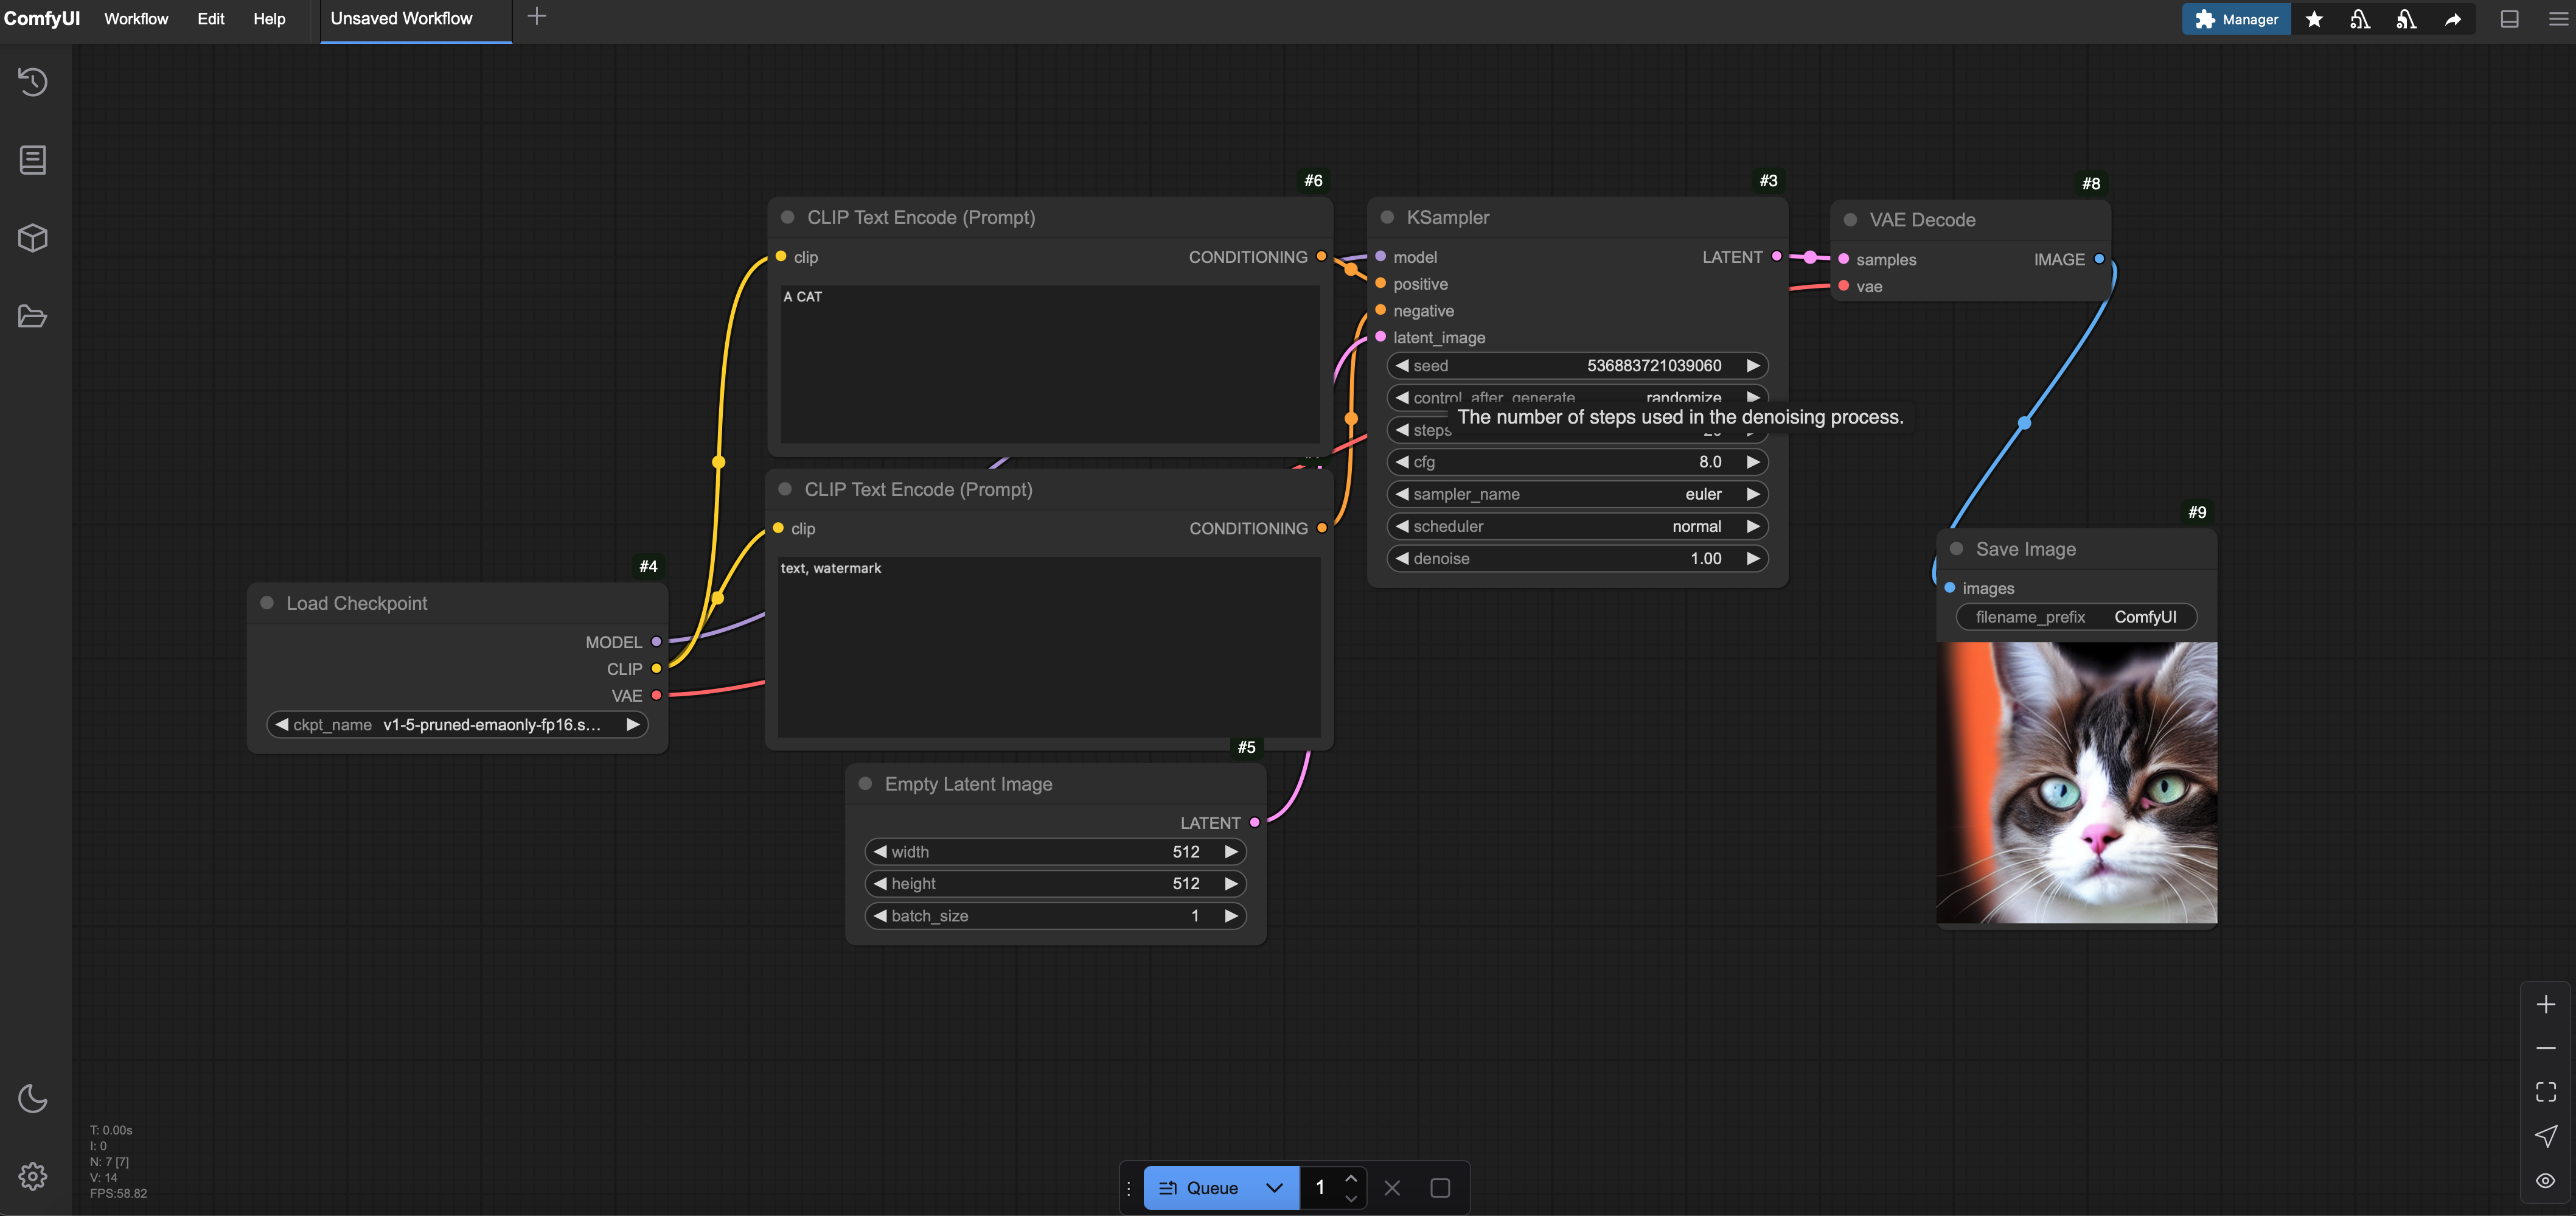
This guide demonstrates how to execute workflows created with ComfyUI on Beam.

ComfyUI is a powerful and modular GUI and backend that allows users to design and execute advanced stable diffusion pipelines.

To facilitate the transition from ComfyUI’s visual workflows to executable Python code, we’ll utilize the ComfyUI-to-Python-Extension. This tool translates ComfyUI workflows into Python scripts, enabling seamless integration with Beam.

Prerequisites

Before proceeding, ensure you have the following:

  • ComfyUI: Run python main.py from the root of this project to launch the Comfy server.
  • ComfyUI-to-Python-Extension: Clone this repo in the custom_nodes directory.

Designing Your Workflow in ComfyUI

  1. Create or Load a Workflow: Use the node-based interface to design your desired pipeline. You can load workflows into ComfyUI by downloading a workflow. In the Comfy server, click Load and select a JSON or PNG (which is encoded with the JSON) file to import the workflow.

  2. Install the ComfyUI-to-Python-Extension:

We’ll use this extension to automatically convert your workflow to a Python file that can be loaded onto Beam. To enable script export options, install the ComfyUI-to-Python-Extension in your ComfyUI/custom_nodes directory:

cd ComfyUI/custom_nodes
git clone https://github.com/pydn/ComfyUI-to-Python-Extension.git
cd ComfyUI-to-Python-Extension
pip install -r requirements.txt
  1. Enable Developer Mode:
  • Click the gear icon above the Queue Prompt button.
  • Check the box that says Enable Dev Mode Options.
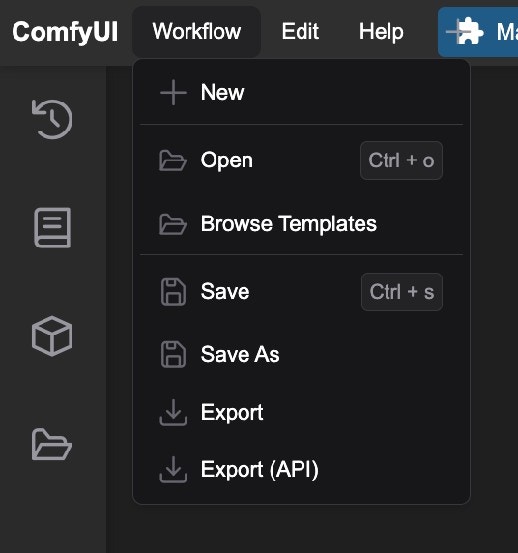
  1. Export the Workflow:

With Developer Mode enabled, you can export the workflow to a Python script, streamlining the conversion process.

You can also save the workflow as a JSON file (e.g., workflow_api.json), which you can later convert manually using the ComfyUI-to-Python-Extension and this command:

python comfyui_to_python.py --input_file path/to/workflow_api.json --output_file my_workflow.py

Preparing for Deployment on Beam

For Beam deployment, you need to adjust your script to point to Beam volumes with the model checkpoints. Here’s a structured approach:

Configuring Paths in folder_paths.py

In ComfyUI, resource paths are defined in folder_paths.py, which organizes directories for temporary files, user files, and—most importantly—model files. For Beam, update these paths to use volumes:

  1. Model and Resource Paths:

You can define paths in Beam’s volume directory. Here’s an example of this:

import os

base_path = os.path.dirname(os.path.realpath(__file__))
volume_dir = "./models"  # Beam volume path for models

# Configure resource paths
models_dir = os.path.join(volume_dir, "your-model-path-here")
folder_names_and_paths = {
    "checkpoints": [os.path.join(models_dir, "checkpoints")],
    "loras": [os.path.join(models_dir, "loras")],
    "vae": [os.path.join(temp_dir, "vae")],  # Temporary directory for VAEs
    # Add other resources as needed
}
  1. Updating Custom Paths:

    • Some nodes in ComfyUI require custom paths, often specified in the node’s script or __init__.py. Adjust these paths to point to Beam volumes or temporary storage as needed. Check folder_paths.py for any hardcoded paths that may need updating.
  2. Optimize Workflow Size:

    • ComfyUI initializes from scratch each time it runs. Keeping your workflow lean — especially by reducing the number of nodes — improves startup efficiency on Beam.

Uploading Model Weights to Beam

We’ll upload our model weights to Beam’s storage volumes.

from beam import function, Image, Volume
import os
import sys

VOLUME_NAME = "comfy-weights"
VOLUME_PATH = "./comfy_weights"


@function(
    image=Image().add_commands(["apt-get update && apt-get install -y wget"]),
    volumes=[Volume(name=VOLUME_NAME, mount_path=VOLUME_PATH)],
)
def upload_models():
    # Define the model URLs and their respective directories
    model_urls = [
        (
            "SG161222/Realistic_Vision_V5.0_noVAE",
            "Realistic_Vision_V5.0.safetensors",
            "ComfyUI/models/checkpoints/",
        ),
        (
            "stabilityai/sd-vae-ft-mse-original",
            "vae-ft-mse-840000-ema-pruned.safetensors",
            "ComfyUI/models/vae/",
        ),
        (
            "lllyasviel/ControlNet-v1-1",
            "control_v11p_sd15_lineart.pth",
            "ComfyUI/models/controlnet/",
        ),
        (
            "wangfuyun/AnimateLCM",
            "AnimateLCM_sd15_t2v_lora.safetensors",
            "ComfyUI/models/loras/",
        ),
    ]

    # Download models if not already downloaded
    for model_name, filename, directory in model_urls:
        full_directory_path = os.path.join(VOLUME_PATH, directory)

        # Create directory if it doesn't exist
        os.makedirs(full_directory_path, exist_ok=True)

        file_path = os.path.join(full_directory_path, filename)
        if not os.path.exists(file_path):
            print(f"Downloading {filename} to {full_directory_path}")
            os.system(
                f"wget -c https://huggingface.co/{model_name}/resolve/main/{filename} -P {full_directory_path}"
            )


if __name__ == "__main__":
    upload_models.remote()

Alternatively, if your models are stored locally, you can upload them manually to a Beam volume using beam cp [FILE-NAME] [VOLUME-NAME].

Deploying on Beam

With paths configured, you’re ready to deploy your workflow on Beam.

  1. Create a beam-app.py File:

    • In your project directory, create a file named beam-app.py that will serve as your main entry point for your deployment:

      from beam import Image, Volume, task_queue, Output, env
      
      if env.is_remote():
         import my_workflow  # Import your workflow function
      
       # Define the endpoint with required resources
       @task_queue(
           name="ComfyUI",
           cpu=4,
           memory="32Gi",
           gpu="A10G",
           image=Image(
               python_version="python3.10",
               python_packages="requirements.txt",
           ),
           volumes=[Volume(name="comfy-weights", mount_path="./comfy-weights")],
       )
       def run_workflow(**inputs):
           my_workflow()
      
  2. Deploy to Beam:

    • Use the Beam CLI to deploy your application:

      beam deploy beam-app.py:run_workflow
      

If your upload takes a long time, make sure that your .beamignore is excluding large files (like model weights) from getting uploaded. Remember, these large files are already loaded into our Beam Volume, so it’s not necessary to synchronize them to the remote environment a second time.

Additional Resources

  • ComfyUI-to-Python-Extension: A tool to convert ComfyUI workflows into Python scripts. GitHub Repository
  • ComfyUI-BeamV2: An example template of ComfyUI with dummy scripts for Beam deployment. GitHub Repository

Special thanks to Maayan Bogin for writing this tutorial!