Other agent frameworks can't...
• Multi-task
• Automatically synchronize state
• Run each task in an isolated environment
• Scale to 100s of GPUs
• Automatically synchronize state
• Run each task in an isolated environment
• Scale to 100s of GPUs
Beam gives you everything you need
• Sandboxed compute environments
• Concurrency
• Task management and queuing
• Edge deployment and autoscaling
• Authentication
• Lots of GPUs
• Concurrency
• Task management and queuing
• Edge deployment and autoscaling
• Authentication
• Lots of GPUs
Introduction
Today, most agent frameworks are based on graph DAGs. While useful for simple tasks, this limits you to performing one action at a time (i.e. using one tool at a time). Beam uses a new agentic concurrency model, based on petri nets, which are capable of multi-tasking complex, multi-threaded workflows. By combining this agent framework with Beam’s cloud compute, you can build powerful, parallelized applications.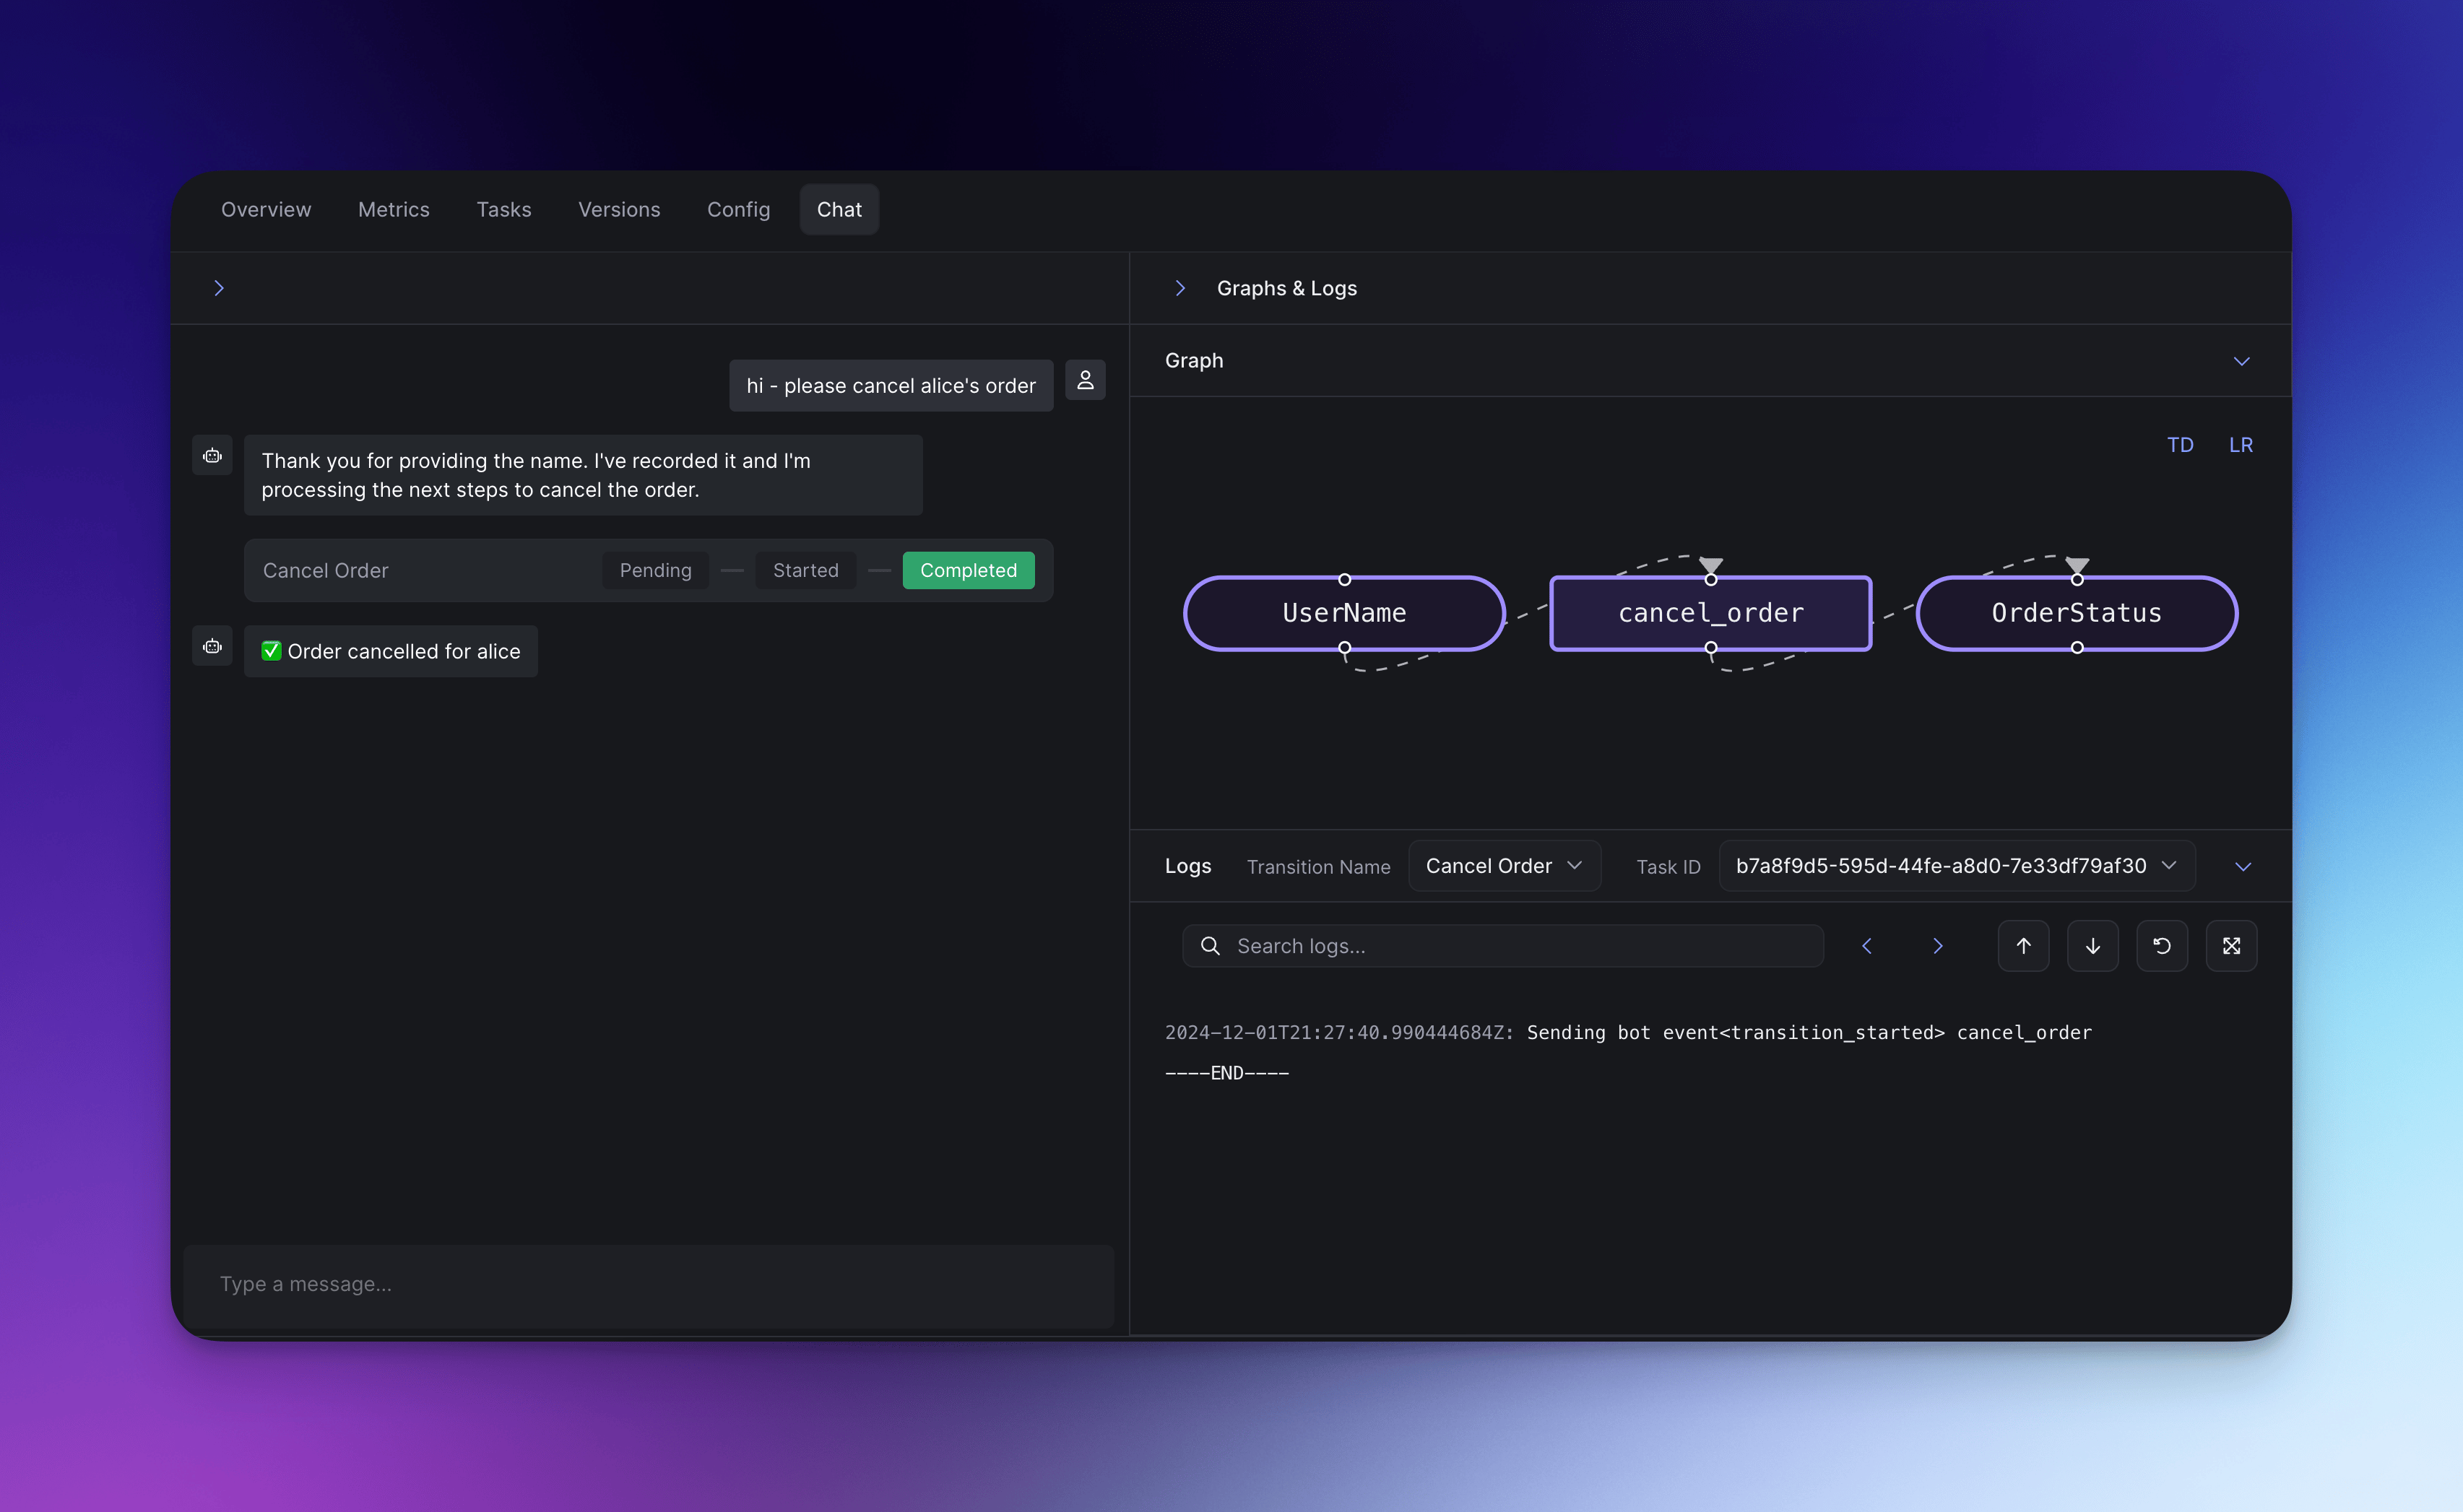
Core Concepts
Our agent framework has three important components: locations, transitions, and markers. For this example, suppose we’re modeling an eCommerce store.- Locations — these are specific states or conditions that hold tokens. For example,
in_shopping_cartorin_queue. - Transitions — events or actions that cause state changes. For example
place_orderoraccept_payment. Each transition has:- Inputs — the locations the data is consumed from.
- Outputs — the locations the data is sent.
- Markers — markers are data types. For example,
order_12345_red_shoes.
Initial Setup
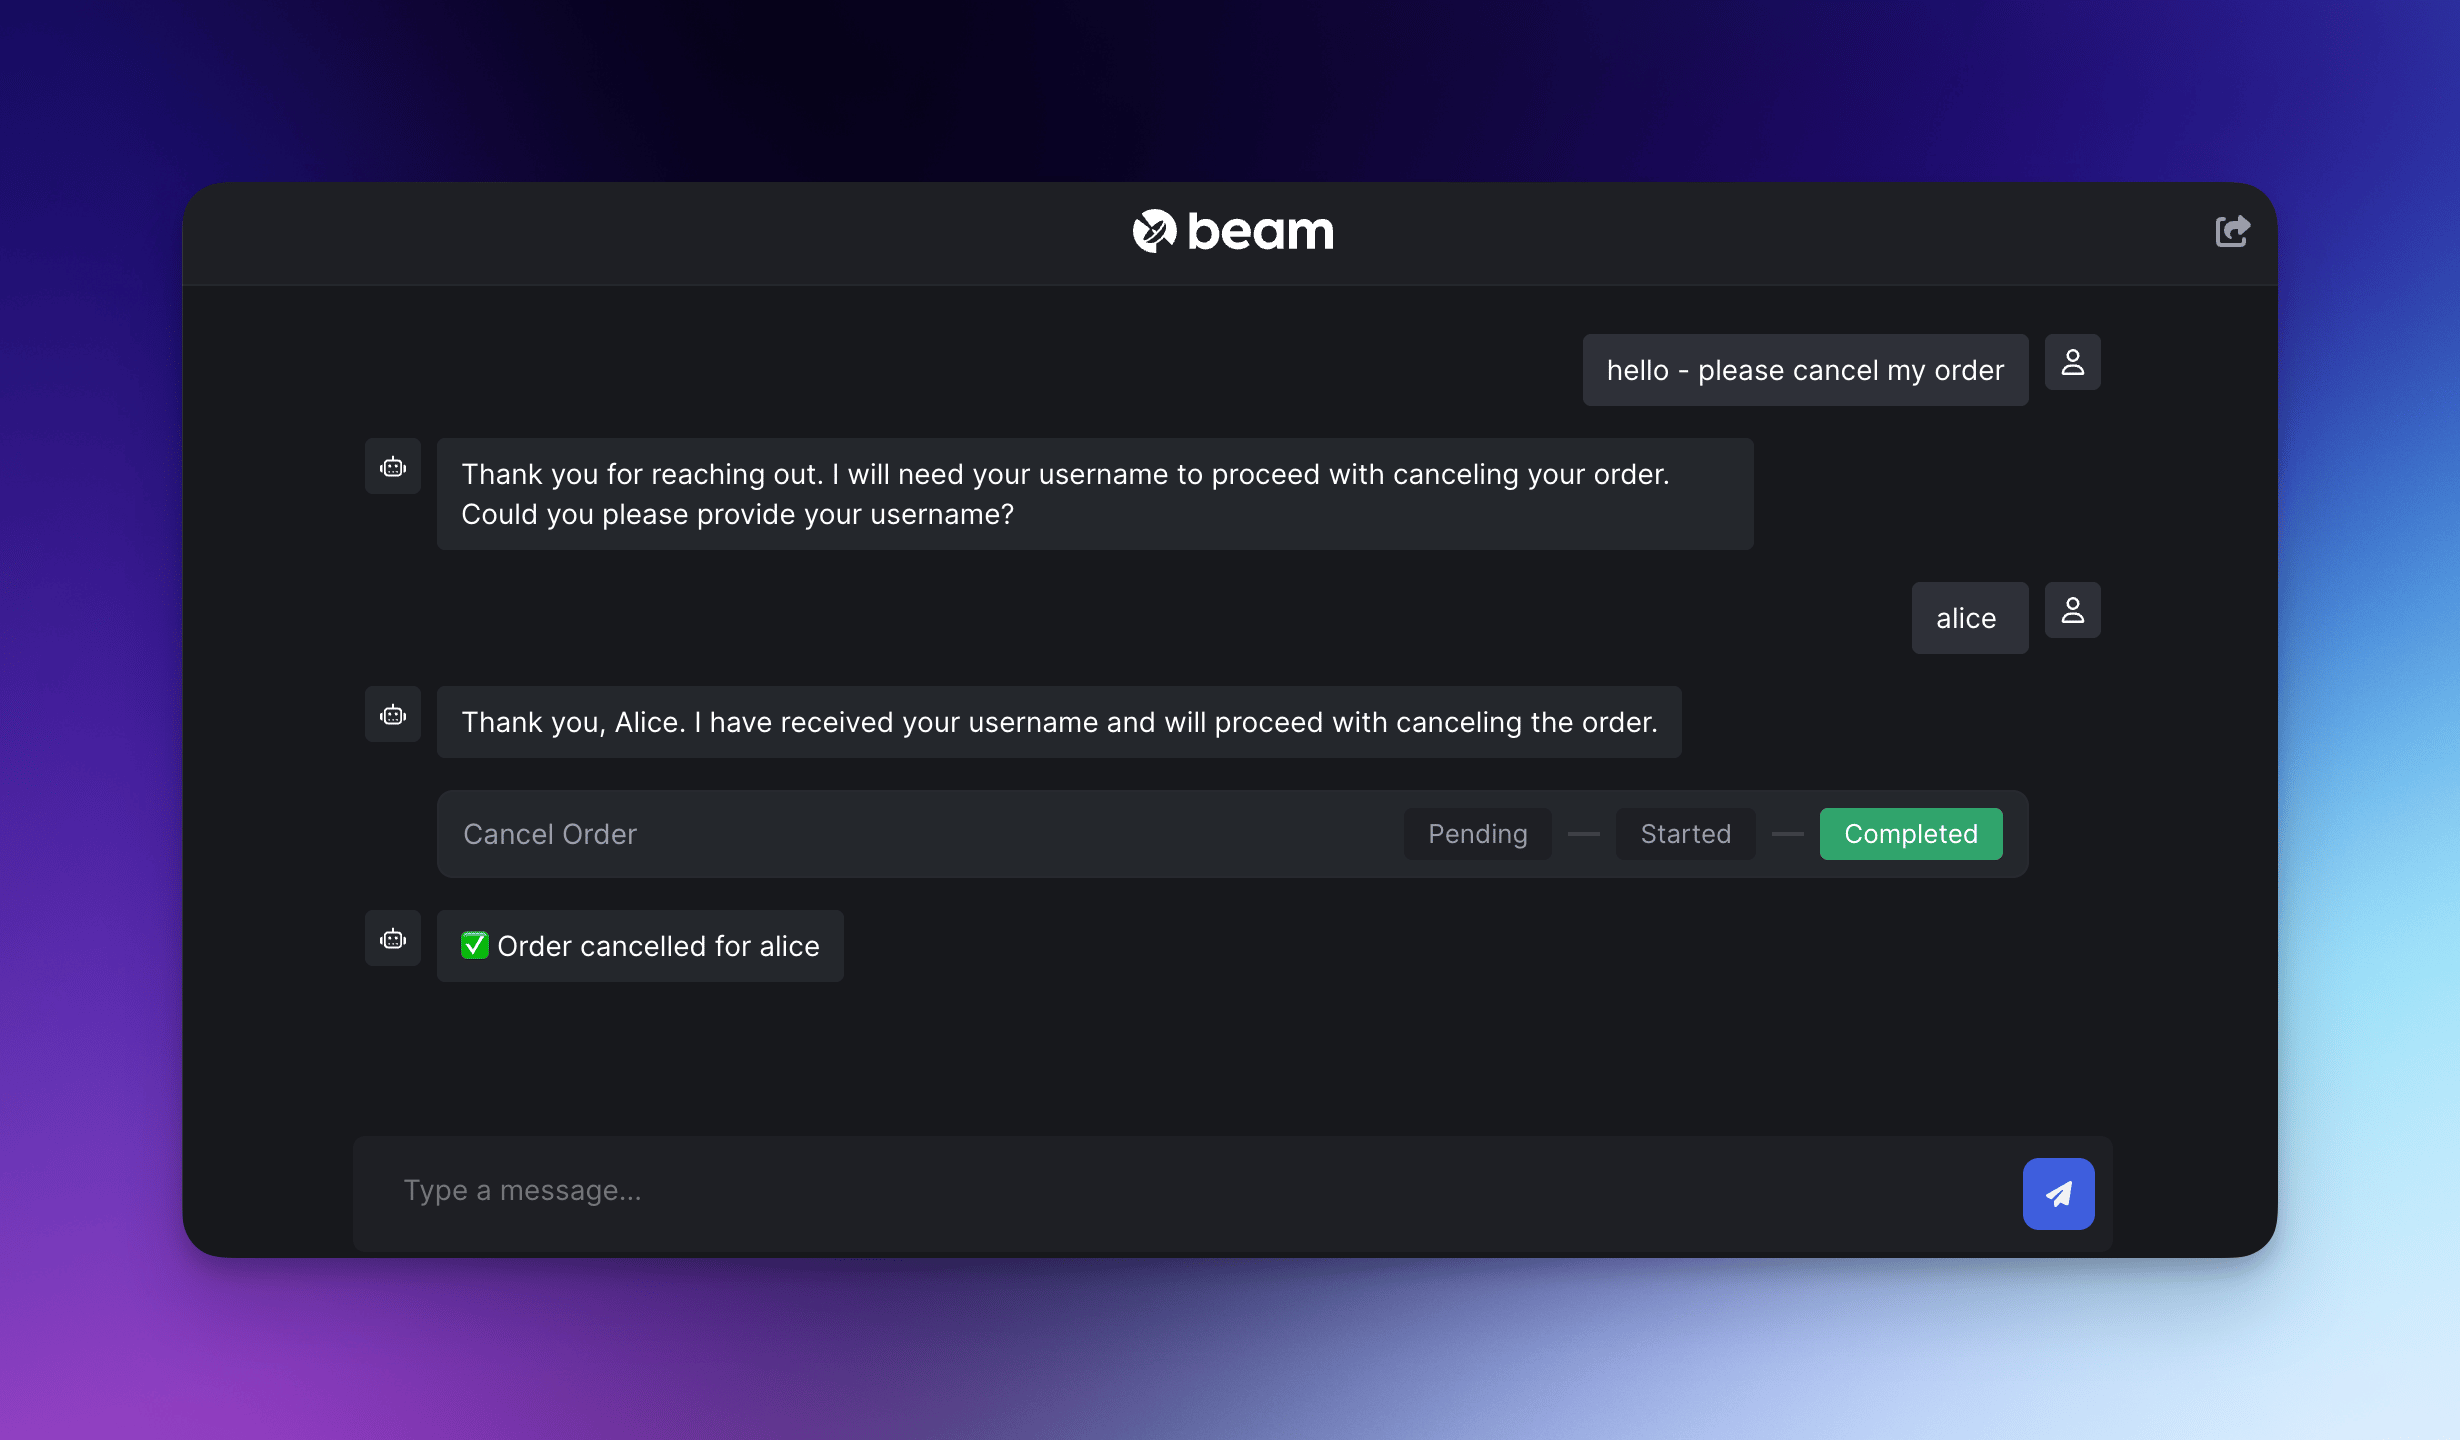
Let’s setup a simplehello world chatbot. This chatbot will respond to messages from a user. It will ask the user for their name, and attempt to update the status of their order.
Pre-requisites
- A free Beam account, and Beam installed on your computer
- An OpenAI API key
Hello World
We’ll start by creating abot, a transition, and initial state markers:
Managing State
Now we’ll addlocations and markers, which represent state.
app.py
Adding Transitions
Let’s add our first transition. A transition is a state change. It takes ourUserName location and returns an OrderStatus location.
app.py
Interacting with User Input
Let’s add basic logic in the transition. We’ll accept a username, and update a dict with the user’s order status.Adding Prompts
We’ll introduce a new concept, calledcontext, which is a class that provides various convenience methods for your bot.
app.py
Human-in-the-loop
We can also add a confirmation prompt, so that user input is required before the bot can proceed to the next step. Let’s add theconfirm flag to the transition:
app.py
Adding Transitions
Let’s add a second transition, which will issue a refund to the user after they cancel their order. This transition will fire when anOrderStatus marker is created.
Advanced Usage
Controlling Bot Awareness
Based on the system prompt, the bot automatically knows about all the locations and transitions defined in the network. This means that the bot will understand its role based on the data you add to your transitions. However, you might not want the bot to know about certain transitions or locations! Think of hidden transitions as ‘backstage actions’ — users can still interact with them, but the bot won’t take it into account in its reasoning.Using Context Commands
We provide a number of helper commands using a class calledcontext.
Context variables can be used for prompting the user for input, creating blocking requests to the bot, and sending message to the user.
Available Commands
Development Workflow
Testing
We’ll start by running the bot from our shell, as a temporary development server.transition, and create an interactive dialogue in your shell.
Deployment
Creating Public Chatbots
You can also create sharable pages for your chatbot by addingauthorized=False to your bot:
app.py