Introduction

Beam is a new way of quickly prototyping AI projects. In this example, we’ll show how to deploy a serverless API endpoint that generates images with stable diffusion.

Setting up the environment

First, we’ll setup the environment to run Stable Diffusion.

We’re going to define a few things:

  • App with a unique name
  • Runtime with CPU and memory requirements, and an A10G GPU
  • Image with Python packages required to run stable diffusion
  • Volume to mount a storage volume to cache the model weights
from beam import App, Runtime, Image, Volume

app = App(
    name="stable-diffusion-app",
    runtime=Runtime(
        cpu=2,
        memory="16Gi",
        gpu="A10G",
        image=Image(
            python_version="python3.8",
            python_packages=[
                "diffusers[torch]>=0.10",
                "transformers",
                "torch",
                "pillow",
                "accelerate",
                "safetensors",
                "xformers",
            ],
        ),
    ),
    volumes=[Volume(name="models", path="./models")],
)

Inference function

You’ll write a simple function that takes a prompt passed from the user and returns an image generated using Stable Diffusion.

You need an access token from Huggingface to run this example. You can sign up for Huggingface and access your token on the settings page, and store it in the Beam Secrets Manager.

Saving image outputs

Notice the image.save() method below. We’re going to save our generated images to an Output file, by passing an outputs argument to our function:

@app.task_queue(
    # File to store image outputs
    outputs=[Output(path="output.png")]
)

Here’s the full inference function:

app.py
from beam import App, Runtime, Image, Output, Volume

import os
import torch
from diffusers import StableDiffusionPipeline
from PIL import Image

cache_path = "./models"
model_id = "runwayml/stable-diffusion-v1-5"

# The environment your code will run on
app = App(
    name="stable-diffusion-app",
    runtime=Runtime(
        cpu=2,
        memory="16Gi",
        gpu="A10G",
        image=Image(
            python_version="python3.8",
            python_packages=[
                "diffusers[torch]>=0.10",
                "transformers",
                "torch",
                "pillow",
                "accelerate",
                "safetensors",
                "xformers",
            ],
        ),
    ),
    volumes=[Volume(name="models", path="./models")],
)


@app.task_queue(
    # File to store image outputs
    outputs=[Output(path="output.png")]
)
def generate_image(**inputs):
    prompt = inputs["prompt"]

    torch.backends.cuda.matmul.allow_tf32 = True

    pipe = StableDiffusionPipeline.from_pretrained(
        model_id,
        revision="fp16",
        torch_dtype=torch.float16,
        cache_dir=cache_path,
        # Add your own auth token from Huggingface
        use_auth_token=os.environ["HUGGINGFACE_API_KEY"],
    ).to("cuda")

    with torch.inference_mode():
        with torch.autocast("cuda"):
            image = pipe(prompt, num_inference_steps=50, guidance_scale=7.5).images[0]

    print(f"Saved Image: {image}")
    image.save("output.png")


if __name__ == "__main__":
    prompt = "a renaissance style photo of elon musk"
    generate_image(prompt=prompt)

Adding callbacks

If you supply a callback_url argument, Beam will make a POST request to your server whenever a task completes:

app.py
@app.task_queue(
    # File to store image outputs
    outputs=[Output(path="output.png")],
    callback_url="http://my-server.io",
    keep_warm_seconds=300,
)

Deployment

In your teriminal, run:

beam deploy app.py

You’ll see the deployment appear in the dashboard.

Calling the API

In the dashboard, click Call API to view the API URL.

Paste the code into your terminal to make a request.

  curl -X POST --compressed "https://apps.beam.cloud/jrg5v" \
   -H 'Accept: */*' \
   -H 'Accept-Encoding: gzip, deflate' \
   -H 'Authorization: Basic [YOUR_AUTH_TOKEN]' \
   -H 'Connection: keep-alive' \
   -H 'Content-Type: application/json' \
   -d '{"prompt": "a renaissance style photo of steve jobs"}'

The API returns a Task ID.

{ "task_id": "edbcf7ff-e8ce-4199-8661-8e15ed880481" }

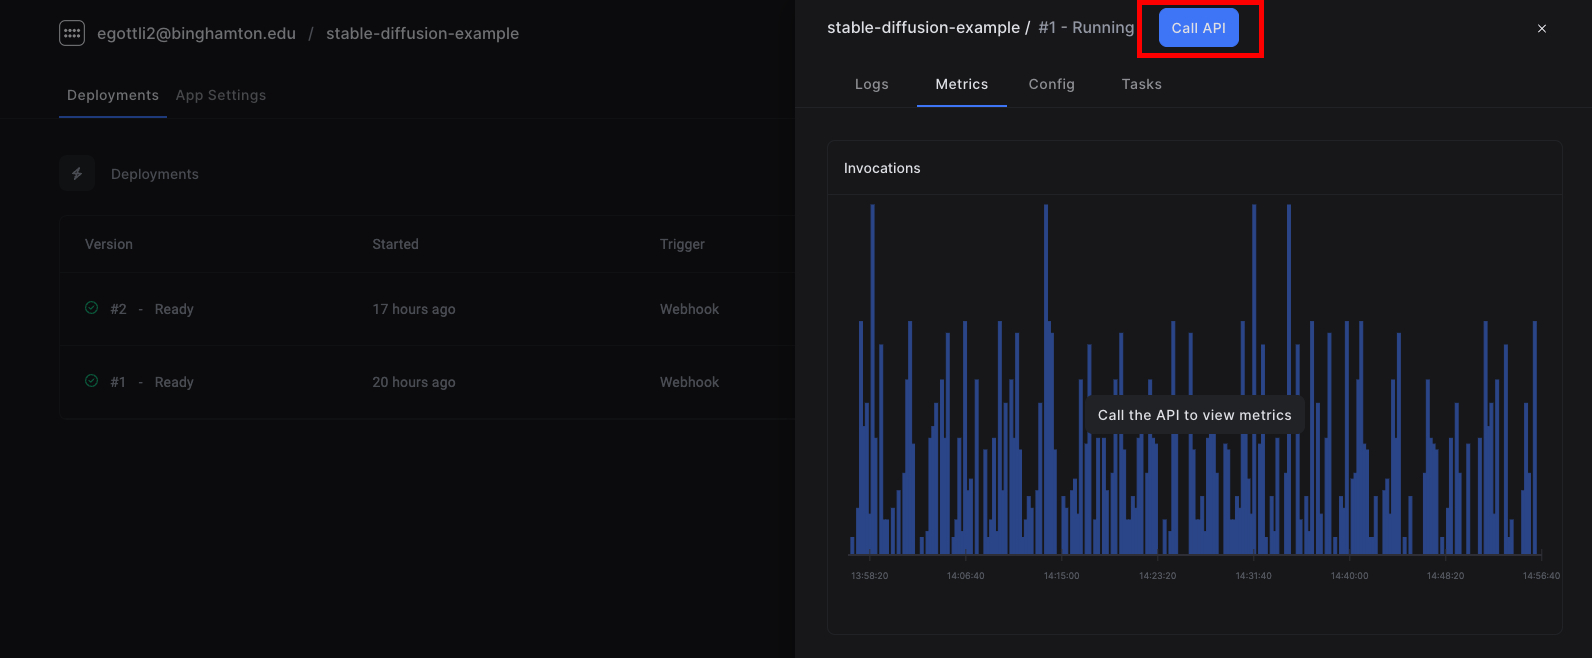
Querying the status of a job

You can use the /v1/task/{task_id}/status/ API to retrieve the status of a job. Using the task ID, here’s how you can get the output with the API.

curl -X GET \
  --header "Content-Type: application/json" \
  --user "{CLIENT_ID}:{CLIENT_SECRET}" \
  "https://api.beam.cloud/v1/task/{TASK_ID}/status/"

This returns a url to the generated image in the outputs object.

{
  "task_id": "edbcf7ff-e8ce-4199-8661-8e15ed880481",
  "started_at": "2022-11-04T19:43:25.668303Z",
  "ended_at": "2022-11-04T19:43:26.017401Z",
  "outputs": {
    "myimage": {
      "path": "output.png",
      "name": "myimage",
      "url": "http://data.beam.cloud/outputs/6446df99cf455a04e0335d9b/jrg5v/jrg5v-0001/edbcf7ff-e8ce-4199-8661-8e15ed880481/output.zip"
    }
  }
}