> ## Documentation Index
> Fetch the complete documentation index at: https://docs.beam.cloud/llms.txt
> Use this file to discover all available pages before exploring further.
# Removing Text from Images
> A mini-app to remove text from images.
This app uses OCR to remove text from an image. You might use this as a stand-alone microservice, or as a pre-processing step in a computer vision pipeline. This tutorial is an adaptation of [this post](https://towardsdatascience.com/remove-text-from-images-using-cv2-and-keras-ocr-24e7612ae4f4).
### Define the environment
You'll start by creating a Beam app definition. In this file, you're defining a few things:
* The libraries you want installed in the environment
* The compute settings (some of the CV operations are heavy, so 16Gi of memory is a safe choice)
```python app.py theme={null}
from beam import App, Runtime, Image, Output
app = App(
name="rmtext",
runtime=Runtime(
cpu=1,
memory="16Gi",
image=Image(
python_packages=[
"numpy",
"matplotlib",
"opencv-python",
"keras_ocr",
"tensorflow",
],
commands=["apt-get update && apt-get install -y libgl1"],
),
),
)
```
### Removing the text from an image
You'll use the code below to accomplish the following:
* Identify text in the base-64 encoded image and create bounding boxes around each block of text
* Add a mask around each box of text
* Paint over each text-mask to remove the text
We've added an `app.run()` decorator to `remove_text`. This decorator will allow us to run this code on Beam, instead of your laptop.
```python app.py theme={null}
from beam import App, Runtime, Image, Output
import base64
import matplotlib.pyplot as plt
import keras_ocr
import cv2
import math
import numpy as np
app = App(
name="rmtext",
runtime=Runtime(
cpu=1,
memory="16Gi",
image=Image(
python_packages=[
"numpy",
"matplotlib",
"opencv-python",
"keras_ocr",
"tensorflow",
],
),
),
)
def midpoint(x1, y1, x2, y2):
x_mid = int((x1 + x2) / 2)
y_mid = int((y1 + y2) / 2)
return (x_mid, y_mid)
@app.run()
def remove_text(**inputs):
# Grab the base64 from the kwargs
encoded_image = inputs["image"]
# Convert the base64-encoded input image to a buffer
image_buffer = base64.b64decode(encoded_image)
pipeline = keras_ocr.pipeline.Pipeline()
# Read the image
img = keras_ocr.tools.read(image_buffer)
# Generate (word, box) tuples
prediction_groups = pipeline.recognize([img])
mask = np.zeros(img.shape[:2], dtype="uint8")
for box in prediction_groups[0]:
x0, y0 = box[1][0]
x1, y1 = box[1][1]
x2, y2 = box[1][2]
x3, y3 = box[1][3]
x_mid0, y_mid0 = midpoint(x1, y1, x2, y2)
x_mid1, y_mi1 = midpoint(x0, y0, x3, y3)
thickness = int(math.sqrt((x2 - x1) ** 2 + (y2 - y1) ** 2))
cv2.line(mask, (x_mid0, y_mid0), (x_mid1, y_mi1), 255, thickness)
img = cv2.inpaint(img, mask, 7, cv2.INPAINT_NS)
img_rgb = cv2.cvtColor(img, cv2.COLOR_BGR2RGB)
# Save the generated image to the Beam Output path
cv2.imwrite("output.png", img_rgb)
if __name__ == "__main__":
input_image = "./coffee.jpeg"
with open(input_image, "rb") as image_file:
encoded_image = base64.b64encode(image_file.read())
remove_text(image=encoded_image)
```
You can run this code on Beam by running `beam run`:
```bash theme={null}
beam run app.py:remove_text
```
Make sure to include a sample image in your working directory, and update the script with the path. In this example, I'm using this image as a sample:
 ### Deployment
If you're satisfied with this function and want to deploy it as an API, you can do so by updating the decorator:
Just replace `@app.run()` with `@app.task_queue()`
```python theme={null}
# This function will be exposed as a web API when deployed!
@app.task_queue()
def remove_text(**inputs):
...
```
You can deploy this app by running:
```bash theme={null}
beam deploy app.py
```
You'll call the API by copying the task queue URL from the dashboard.
### Deployment
If you're satisfied with this function and want to deploy it as an API, you can do so by updating the decorator:
Just replace `@app.run()` with `@app.task_queue()`
```python theme={null}
# This function will be exposed as a web API when deployed!
@app.task_queue()
def remove_text(**inputs):
...
```
You can deploy this app by running:
```bash theme={null}
beam deploy app.py
```
You'll call the API by copying the task queue URL from the dashboard.
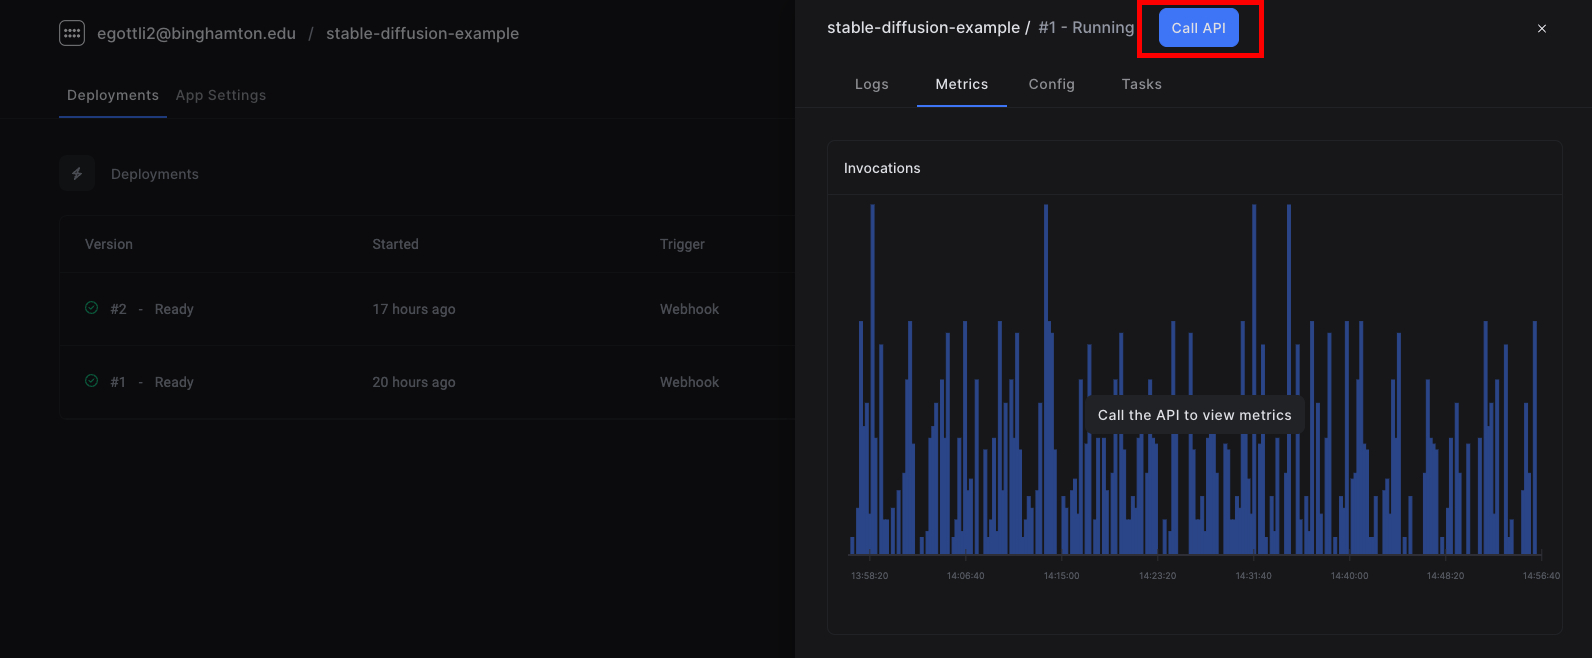 Since this task runs asynchronously, you'll use the `/v1/task/{task_id}/status/` API to retrieve the task status and a link to download the image output.
This will return a response, which contains:
* Task ID
* The start and end time
* A dictionary with pre-signed URLs to download the outputs
Enter the outputs `url` in your browser to download the image. You'll see that the text has been removed:
Since this task runs asynchronously, you'll use the `/v1/task/{task_id}/status/` API to retrieve the task status and a link to download the image output.
This will return a response, which contains:
* Task ID
* The start and end time
* A dictionary with pre-signed URLs to download the outputs
Enter the outputs `url` in your browser to download the image. You'll see that the text has been removed:
